How to Create Delicious Red Velvet Brownies: Simple Step-by-Step Guide
Table of Contents
🌟 Introduction:
Red velvet brownies bring together everything you love about classic red velvet cake and chewy, fudgy brownies. If you’re a fan of fudgy, chewy brownies, don’t miss our chewy brownie recipe for another classic treat. They’re vibrant, rich, and slightly chocolatey with a hint of tang, making them perfect for holidays, birthdays, or even a cozy weekend treat. For another rich and festive dessert, check out our Baker’s German chocolate cake recipe. If you’re looking to impress friends, family, or just yourself, this easy guide will show you exactly how to make red velvet brownies step-by-step.
In this comprehensive guide, you’ll find all the ingredients, tips, and variations you need to make these decadent treats, including a twist with cream cheese swirls, red velvet cheesecake brownies, and more. Let’s get baking!
📢 Why Red Velvet Brownies Deserve a Spot in Your Recipe Collection
Red velvet brownies are more than just a dessert—they’re a statement. Here’s why they’re worth your time:
- Visually Stunning: Their deep red color makes them perfect for Valentine’s Day, Christmas, or birthdays.
- Unique Flavor: They combine the subtle cocoa flavor of red velvet cake with the fudgy texture of brownies.
- Versatile: You can customize them with cream cheese swirls, chocolate chips, or even a cheesecake layer.
- Simple Ingredients: You likely already have most of the ingredients in your pantry.
- Crowd-Pleaser: These brownies are guaranteed to get oohs and aahs at any gathering.
Ready to learn how to make red velvet brownies? Let’s gather your ingredients!
🍪 Ingredients for Red Velvet Brownies
📦 Main Ingredients
Here’s what you’ll need for this easy recipe for red velvet brownies:
| Category | Ingredient | Quantity |
| Dry Ingredients | All-purpose flour | 1 cup |
| Unsweetened cocoa powder | 2 tablespoons | |
| Salt | 1/2 teaspoon | |
| Granulated sugar | 1 cup | |
| Wet Ingredients | Unsalted butter (melted) | 1/2 cup |
| Eggs | 2 large | |
| Vanilla extract | 2 teaspoons | |
| Red food coloring | 1 tablespoon | |
| Optional | Cream cheese (softened) | 4 ounces |
| Chocolate chips | 1/2 cup |
🌿 Ingredient Notes
- Cocoa Powder: Use unsweetened cocoa powder for a subtle chocolate flavor.
- Food Coloring: Gel food coloring gives a richer, deeper red compared to liquid food coloring.
- Butter: Always use unsalted butter to control the salt content.
- Cream Cheese: If you’re making red velvet cheesecake brownies, softened cream cheese is a must for a smooth swirl.
🔥 Step-by-Step Instructions for Red Velvet Brownies
Follow these simple steps to create perfect red velvet brownies every time.
🛏️ 1. Preheat the Oven and Prepare the Pan
- Preheat your oven to 350°F (175°C).
- Line an 8×8-inch baking pan with parchment paper, leaving an overhang on the sides for easy removal.
🍯 2. Mix the Dry Ingredients
In a medium bowl, whisk together:
- 1 cup all-purpose flour
- 2 tablespoons cocoa powder
- 1/2 teaspoon salt
🧁 3. Combine the Wet Ingredients
In a large mixing bowl, whisk together:
- 1/2 cup melted unsalted butter
- 1 cup granulated sugar
- 2 large eggs (at room temperature)
- 2 teaspoons vanilla extract
- 1 tablespoon red food coloring
Whisk until smooth and well combined.
🥘 4. Combine Wet and Dry Ingredients
Gradually add the dry ingredients to the wet ingredients, stirring gently until just combined. Be careful not to overmix, as this can affect the texture of your brownies.
🎟️ 5. Optional: Add a Cream Cheese Swirl
If you’re making red velvet brownies with a cream cheese swirl, follow these steps:
- In a separate bowl, beat together:
- 4 ounces softened cream cheese
- 1/4 cup sugar
- 1 egg yolk
- Pour the brownie batter into the prepared pan and smooth the top with a spatula.
- Drop spoonfuls of the cream cheese mixture on top of the batter.
- Use a butter knife to create swirls by dragging it through the batter and cream cheese mixture.
🏋️ 6. Bake the Brownies
- Place the pan in the oven and bake for 25-30 minutes.
- Check for doneness by inserting a toothpick into the center. If it comes out with a few moist crumbs (but not wet batter), they’re ready.
- Let the brownies cool in the pan for 10 minutes, then lift them out using the parchment paper and transfer to a wire rack.
🎨 7. Cut and Serve
Once completely cooled, cut the brownies into squares. For clean cuts, use a sharp knife and wipe it clean between cuts.
If you’re looking for a tried-and-true recipe, check out this Red Velvet Cake from Allrecipes. With a perfect balance of sweetness and tang from the cream cheese frosting, it’s a must-try for any dessert lover. Get the full recipe here: Red Velvet Cake.
💡 Tips for Making the Best Red Velvet Brownies
🤝 Don’t Overmix the Batter
Mix until the dry and wet ingredients are just combined. Overmixing can make your brownies tough.
📣 Use Gel Food Coloring
For a rich red color, gel food coloring works better than liquid food coloring because it’s more concentrated.
⏳ Check Early
Start checking your brownies at the 25-minute mark to avoid overbaking. Brownies continue to cook slightly as they cool.
🛠️ Add Chocolate Chips for Extra Fudge Factor
For an indulgent twist, fold in 1/2 cup of chocolate chips into the batter before baking.
🌟 Variations to Try
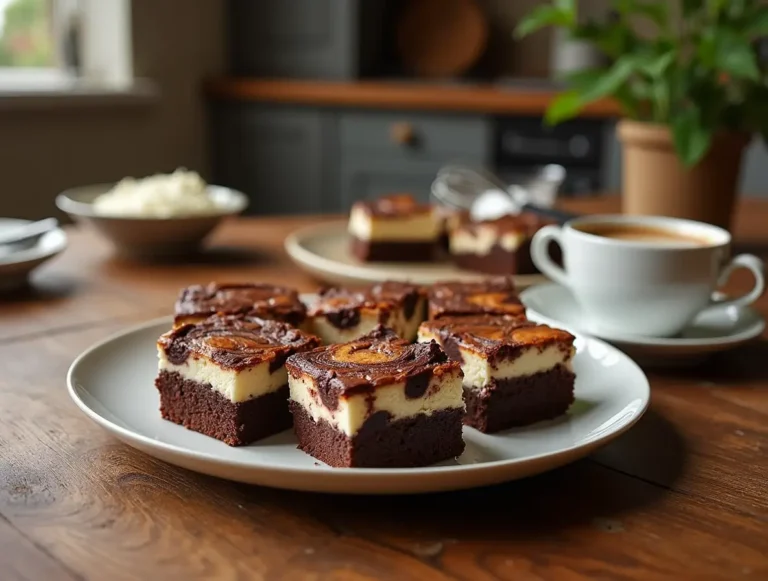
🥣 Red Velvet Cheesecake Brownies
Add a layer of cheesecake batter to create red velvet cheesecake brownies. Simply:
- Prepare the brownie batter as instructed.
- In a separate bowl, beat together 8 ounces of cream cheese, 1/4 cup sugar, and 1 egg.
- Pour the cheesecake layer over the brownie batter and swirl together before baking.
If you love cheesecake variations, try our creamy ricotta cheesecake for a delicious twist.
🍫 Red Velvet and Cheesecake Brownies with Chocolate Chips
For a triple threat of flavors:
- Follow the cheesecake swirl instructions.
- Sprinkle 1/2 cup of chocolate chips on top before baking. For chocolate chip lovers, you can’t go wrong with our classic Toll House cookie recipe.
Want to take it up a notch? Indulge in our decadent slutty brownies for an irresistible layered treat.
🐟 Red Velvet Cake Brownies with Cream Cheese Frosting
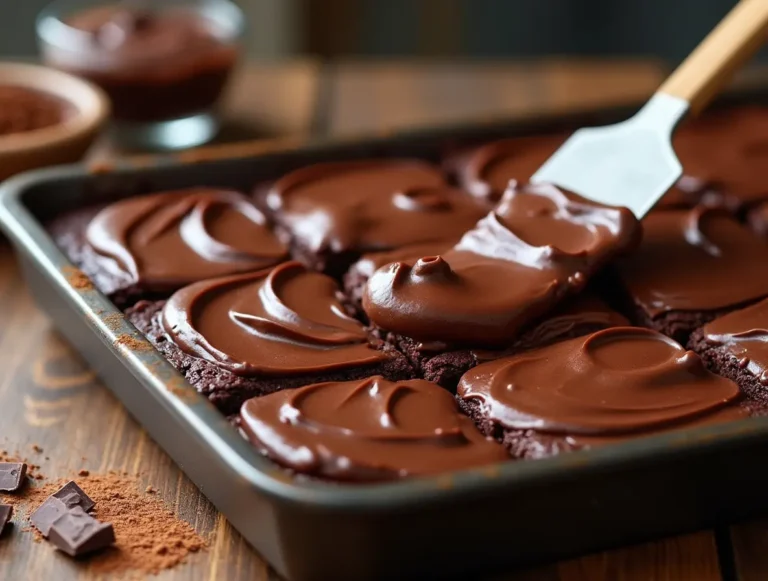
Instead of a swirl, bake the brownies plain and top them with cream cheese frosting after cooling:
- Beat together 4 ounces of softened cream cheese, 2 tablespoons butter, 1 cup powdered sugar, and 1 teaspoon vanilla extract.
- Spread the frosting over the cooled brownies.
🛋️ Storing and Serving Red Velvet Brownies
🛥️ Storage Tips
- Room Temperature: Store in an airtight container for up to 3 days.
- Refrigeration: For longer storage, keep in the fridge for up to 1 week.
- Freezing: Wrap individually and freeze for up to 3 months. Thaw at room temperature before serving.
Looking for healthier alternatives? Check out these protein dessert recipes for guilt-free indulgence.
🍨 Serving Ideas
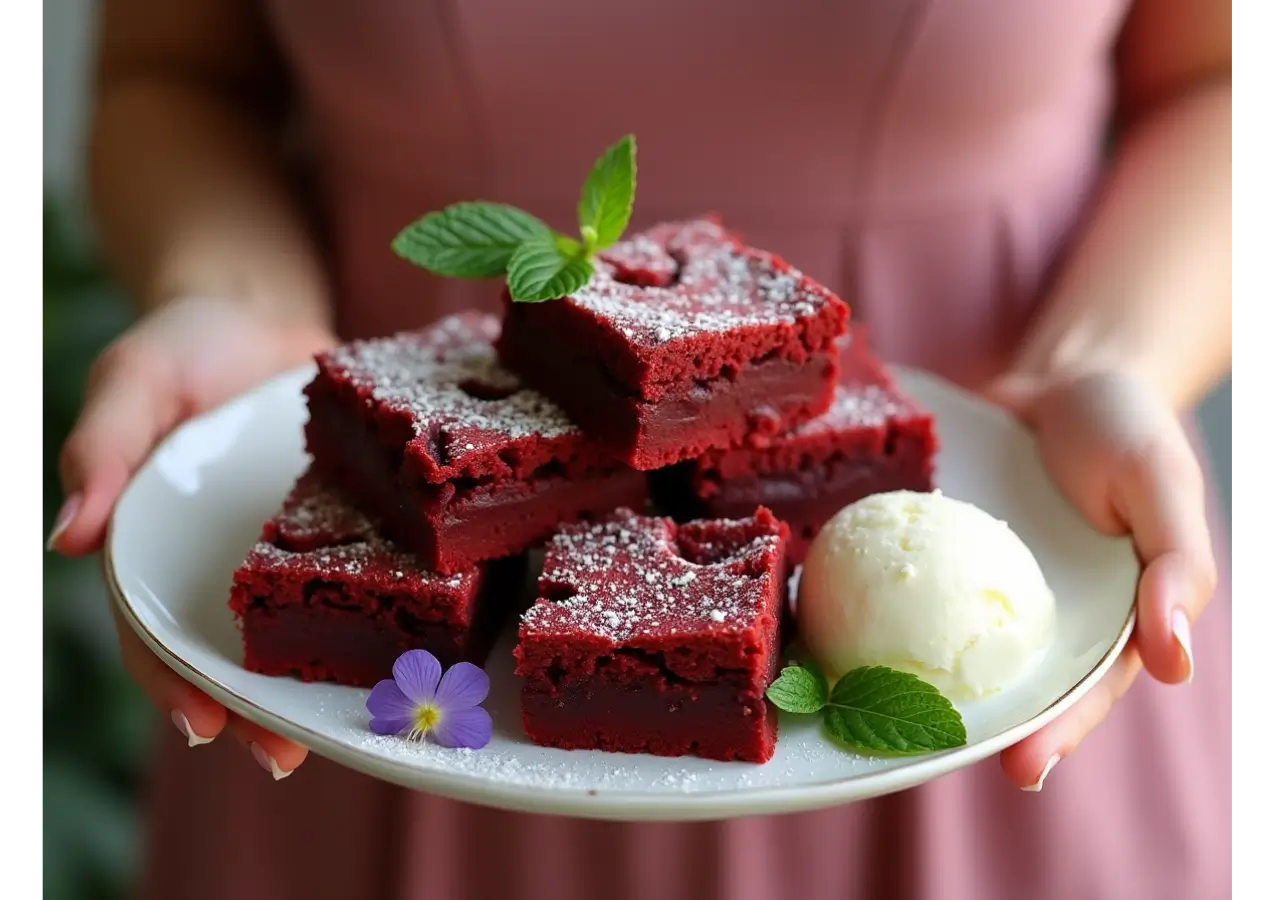
- With Ice Cream: Pair your brownies with a scoop of vanilla ice cream or drizzle them with chocolate sauce for a restaurant-style dessert.
- Storing Tips: Keep brownies in an airtight container at room temperature for up to 3 days or refrigerate for up to a week.
For those interested in alternative brownies, check out our easy homemade Brownies Recipes.
❓ FAQs About Red Velvet Brownies
🤔 What makes red velvet brownies different from regular brownies?
Red velvet brownies feature a mild chocolate flavor enhanced with a hint of tangy cream cheese and their signature red hue.
🤔 Can I skip the cream cheese swirl?
Yes! The base brownie recipe is delicious on its own, but the cream cheese swirl adds an extra layer of richness.
🤔 What’s the best way to achieve a vibrant red color?
Use gel food coloring instead of liquid for a deep, bold red without altering the batter’s consistency.
🎉 Conclusion: Bake Your Red Velvet Dreams
Now that you’ve mastered the art of making red velvet brownies, it’s time to get baking. These vibrant, luscious treats are bound to be a hit no matter where you serve them. Whether you enjoy them as-is or experiment with variations, you’re sure to impress everyone with this show-stopping dessert.
Ready to bake? Share your results in the comments or tag us on social media!
Made It? Nailed It? Let Us Know!
There are no reviews yet. Be the first one to write one.

