
Irresistible Vanilla Bean Ice Cream: Creamy Treats for Your Sweet Tooth
Table of Contents
Imagine a warm summer afternoon when you crave something luxuriously creamy and delightfully refreshing. You recall that first magical moment when a spoonful of homemade vanilla bean ice cream transported you back to carefree childhood days. Today, you’re about to embark on a culinary adventure that not only reveals the secrets behind a sensational vanilla bean ice cream recipe but also a unique twist to elevate your dessert game. Get ready to transform your kitchen into a haven of sweet indulgence!

🍦 Recipe Overview
Before diving into the detailed process, it’s essential to have a clear picture of the recipe’s timeline and yield. This quick overview will help you plan your dessert-making adventure.
| Prep Time | Cook Time | Total Time | Servings | Yield |
|---|---|---|---|---|
| 20 minutes | 30 minutes | 6+ hours* | 8 servings | Approximately 1 quart |
*Total time includes chilling and freezing time.
🍦 Essential Ingredients & Equipment

To create a dessert that’s as visually stunning as it is delicious, start by gathering the finest ingredients and necessary tools. The secret to a perfect vanilla bean ice cream recipe lies in the quality of its components and your careful preparation.
🍨 Must-Have Ingredients for Vanilla Bean Ice Cream
For a rich, decadent texture and authentic vanilla flavor, you need to source premium ingredients. Below is a table summarizing everything required:
| Ingredient | Quantity | Notes |
|---|---|---|
| Heavy Cream | 2 cups | Provides extra creaminess |
| Whole Milk | 1 cup | Balances the richness |
| Vanilla Bean | 1 whole | Split and scraped for intense flavor |
| Sugar | 3/4 cup | Adjust based on your sweetness preference |
| Egg Yolks | 4 large | Creates a smooth, custard-like texture |
These ingredients are the foundation of your dessert masterpiece. Quality matters—using the best ingredients ensures your homemade vanilla bean ice cream becomes a truly memorable treat.
🍨 Necessary Equipment
Equip your kitchen with the following essential tools to streamline the process:
- Ice Cream Maker: Ensures smooth, consistent churning.
- Mixing Bowls & Whisk: For thorough blending of ingredients.
- Saucepan: Ideal for gently heating the dairy mixture.
- Fine Strainer: Removes unwanted solids for a silky custard.
With these tools in hand, you’re perfectly set to create a dessert that will impress both your taste buds and your guests.
🍦 Step-by-Step Process for the Perfect Vanilla Bean Ice Cream

Creating your vanilla bean ice cream is a rewarding journey that marries traditional techniques with your personal flair. Follow these detailed steps to ensure each scoop is creamy, flavorful, and utterly irresistible.
🍨 Preparing the Custard Base

- Infuse the Dairy:
Begin by pouring the heavy cream and whole milk into a saucepan. Next, split the vanilla bean lengthwise and use the back of a knife to gently scrape out the seeds. Add both the seeds and the pod into your dairy mixture. Warm the mixture over medium-low heat until it’s nearly simmering. This delicate process extracts the full, aromatic essence of the vanilla bean. - Mix the Egg Yolks and Sugar:
While your dairy mixture warms, transfer the egg yolks and sugar into a large mixing bowl. Whisk the ingredients vigorously until the mixture turns pale and frothy. This step is essential to ensure the sugar begins dissolving, creating a light, airy base that’s key for a smooth ice cream texture. - Tempering and Combining:
Slowly add a small amount of the hot milk mixture into the egg yolk mixture while whisking continuously. This gradual process—known as tempering—prevents the eggs from curdling. Once combined, pour the tempered mixture back into the saucepan with the remaining milk. Continue stirring over low heat until the custard thickens slightly, just enough to coat the back of a spoon. - Strain and Chill:
Remove the saucepan from heat and strain the custard through a fine sieve into a clean bowl. This step ensures that any bits of cooked egg or vanilla pod are eliminated, leaving you with a perfectly smooth custard. Allow the mixture to cool to room temperature, then cover and refrigerate for at least 4 hours (or overnight) to develop the flavors fully.
For an alternative twist, you might also consider exploring a different flavor profile by checking out this Honey Vanilla Ice Cream recipe.
🍨 Churning and Freezing
- Churn the Custard:
Once your custard is well chilled, pour it into your ice cream maker. Follow your machine’s instructions for churning. The process transforms the liquid custard into a smooth, airy ice cream, incorporating just the right amount of air for a creamy texture. - Extra Freezing (Optional):
If you prefer a firmer consistency, transfer the churned ice cream into an airtight container and freeze for an additional 2 to 4 hours. This extra freezing time solidifies the dessert, giving it a delightful texture that holds up well on a warm day.
For those intrigued by unique twists, why not try our carnivore ice cream recipe? It offers a completely different take while still emphasizing quality ingredients.
By following these steps, you’ll have mastered an authentic vanilla bean ice cream recipe that’s as satisfying to create as it is to eat.
🍦 Creative Variations & Serving Suggestions

Once you’ve perfected the classic recipe, it’s time to let your creativity shine. Enhancing your dessert with innovative twists and delightful serving suggestions can transform a simple scoop into a gourmet experience.
🍨 Innovative Twists to Elevate Your Ice Cream
- Flavor Infusions:
Consider adding a dash of cinnamon or nutmeg during the warming phase of your dairy mixture for a subtle spicy undertone. Alternatively, toss in a handful of finely chopped fresh mint leaves to introduce a refreshing burst of flavor. - Mix-Ins & Toppings:
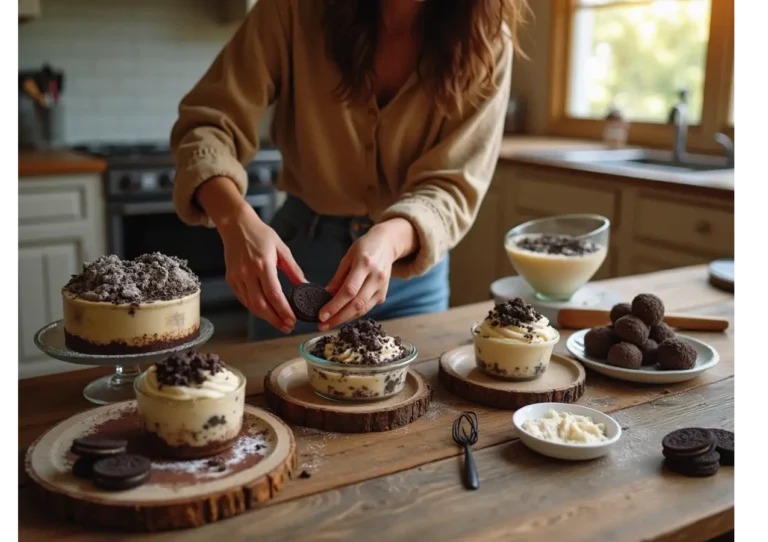
Experiment with mix-ins such as crushed cookies, chocolate chips, or even caramel swirls. These additions not only create an exciting texture but also build layers of flavor that enhance your dessert experience. You might also enjoy our unique desserts like the Oreo Ice Cream Cake or the Pineapple Dump Cake for more creative ideas. - Presentation Techniques:
Serve your ice cream in a chilled bowl and garnish it with a sprig of mint, a drizzle of homemade chocolate sauce, or a scattering of toasted nuts. The visual appeal of your dessert is as important as its flavor.
🍨 Serving Suggestions That Wow
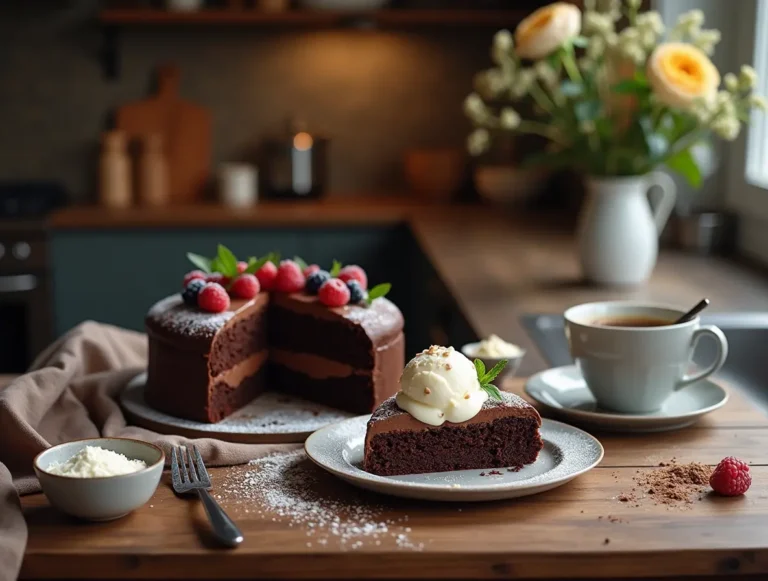
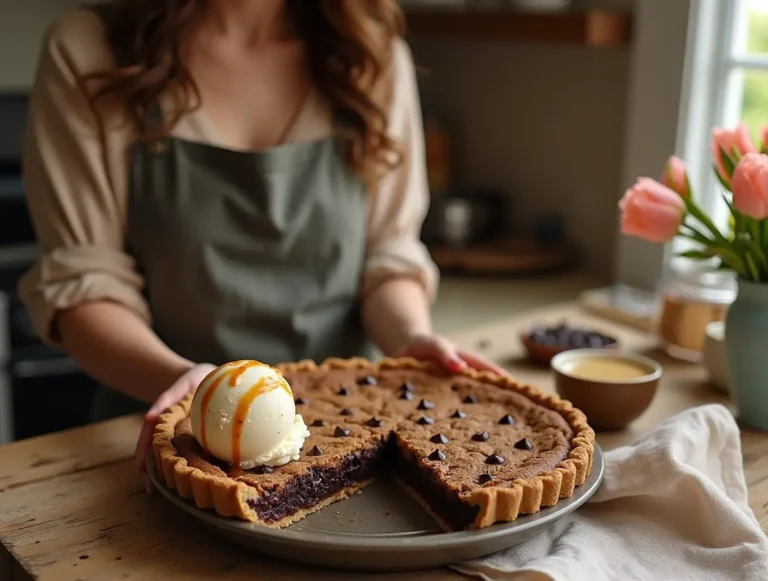
- Pairing with Desserts:
Enhance the experience by pairing your ice cream with warm desserts such as freshly baked cake or pie. The contrast between the cold ice cream and a warm slice of cake creates a delightful, multisensory experience. For more dessert pairings, check out our Brownie Mix Cookie and Depression Cake Recipe. - Creative Plating:
Present your ice cream in a waffle cone or a delicate dessert glass. Consider drizzling a custom sauce over it or adding a small side of whipped cream. Your dessert should be a feast for both the eyes and the palate. - Seasonal Twists:
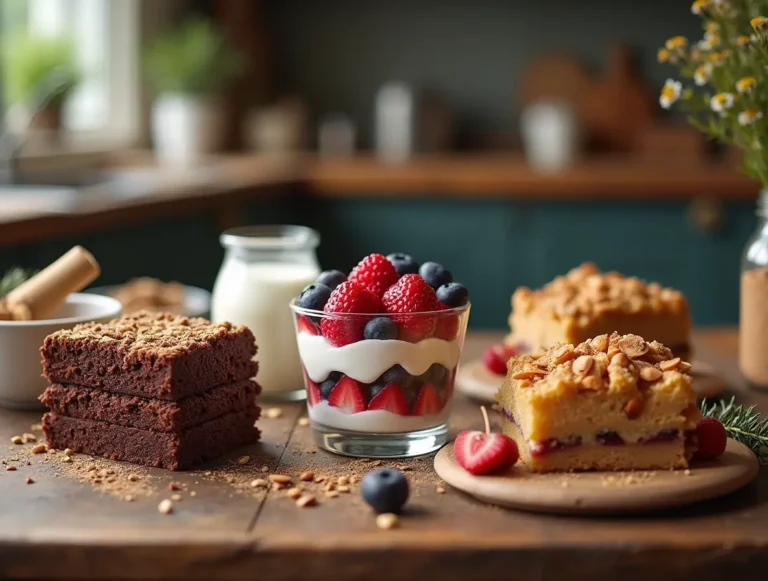
Depending on the season, incorporate seasonal fruits or spices. In the summer, fresh berries or peaches can add a vibrant contrast; in winter, a sprinkle of cinnamon or nutmeg can evoke the warm, cozy feel of the holidays.
These creative variations ensure that each serving of your homemade vanilla bean ice cream is unique, allowing you to impress guests and delight your taste buds every time.
🍦 FAQ – Your Vanilla Bean Ice Cream
- Q1: What makes a great vanilla bean ice cream recipe?
A: The secret lies in using high-quality ingredients, carefully infusing the dairy with vanilla bean, and properly tempering the egg yolks for a custard that churns into a smooth, creamy dessert. - Q2: How can I ensure a creamy texture in my ice cream?
A: Make sure to chill your custard thoroughly before churning and use an ice cream maker that maintains a consistent temperature. If your dessert turns out icy, consider increasing the heavy cream ratio or extending the churning time. - Q3: Can I make this ice cream without an ice cream maker?
A: Yes, you can use alternative methods such as stirring the mixture every 30 minutes during the freezing process to break up ice crystals. While it may require extra effort, the results can still be delicious.
These answers aim to resolve common issues while inspiring you to try new ideas and variations in your dessert-making endeavors.
🍦 Conclusion: Your Journey to Creamy Perfection
As you wrap up this culinary journey, take a moment to reflect on the magic unfolding in your kitchen. You now possess the knowledge and techniques to create an exquisite vanilla bean ice cream recipe that’s smooth, creamy, and bursting with authentic flavor.
Every step—from selecting the best ingredients to mastering the churning process and experimenting with creative mix-ins—builds toward a dessert that is uniquely yours. Remember, every great dessert begins with passion, a bit of creativity, and the willingness to try something new.
🍨 Call-to-Action
Now it’s your turn to shine:
- Try the Recipes: Embrace the challenge of crafting your very own vanilla bean ice cream and luscious frosting without powdered sugar.
- Share Your Creation: Snap a picture of your dessert masterpiece and share it on social media. Tag your post with your favorite dessert hashtags and inspire others with your creativity.
- Engage with Us: Leave a comment below with your twists, variations, or any questions you might have. Your feedback is invaluable in building a community of dessert enthusiasts.
For even more dessert inspiration, explore these delectable recipes:
- Piña Colada Cake
- Cake Using Fruit Cocktail
- Oreo Ice Cream Cake
- Pineapple Dump Cake
- Brownie Mix Cookie
- Depression Cake Recipe
- How to Use Glycerine in Cake Baking
- Madeleine Cookies
- Pecan Pie Brownies
- Diabetic Dessert Recipes
- Sour Milk Recipes Dessert
- Gluten Free and Dairy Free Desserts
- Orange Zest Low Carb Dessert
- Peach Dessert Recipe
- Japanese Desserts
- Sourdough Discard Brownies
- Cookie Pie Recipe
- Subway Cookies
- Biscoff Cookies
- Carnivore Ice Cream Recipe
- Ghirardelli Brownie Mix
- Nutella Stuffed Cookies
- Americano Recipe
- Zucchini Brownies
- Applesauce Coffee Cake
- Peanut Butter Yogurt
Your journey to creating the perfect dessert is just beginning. Experiment boldly, savor every step, and let your creativity transform simple ingredients into masterpieces that bring joy to your table.
Happy cooking, and may your kitchen always be filled with the sweet aroma of vanilla and the warmth of shared moments!
Made It? Nailed It? Let Us Know!
There are no reviews yet. Be the first one to write one.